To add a banner image to top of blog post detail, like this.

#1. First, use this code to Blog Page Header Injection (or Code Injection > Footer).
You can also use Blog Post Banner Plugin so you can achieve this easier without using complex code.
<script src="https://ajax.googleapis.com/ajax/libs/jquery/3.7.1/jquery.min.js"></script>
<script>
$(document).ready(function(){
    $('<section class="blog-banner-custom"><img src="https://images.squarespace-cdn.com/content/v1/685ed722566023581899af8c/cf0148c8-4d30-4aad-ae58-74d6da46324c/unsplash-image-_u1Ly1DMRgM.jpg?format=2500w"/></section').insertBefore('div.blog-item-wrapper>article');
});
</script>
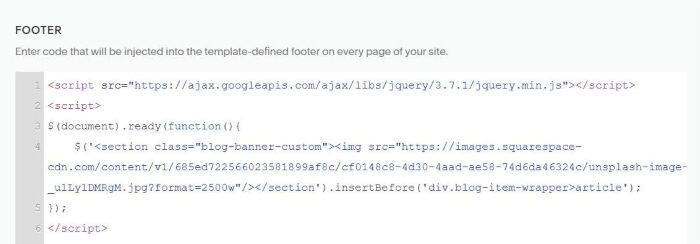
You can change image url in the code.

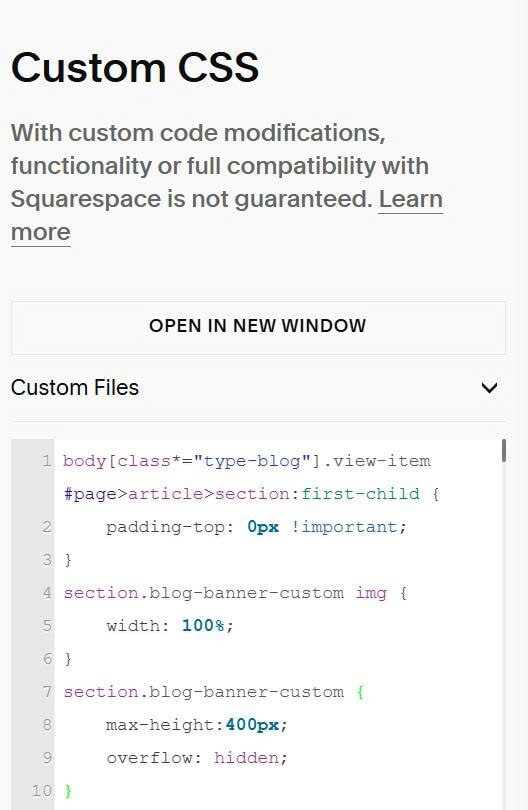
#2. Use this code to Custom CSS
body[class*="type-blog"].view-item #page>article>section:first-child {
    padding-top: 0px !important;
}
section.blog-banner-custom img {
    width: 100%;
}
section.blog-banner-custom {
    max-height:400px;
    overflow: hidden;
}
#3. If you want to change Navigation Items color, use this extra CSS code.
body[class*="type-blog"].view-item {
    div.header-nav-item>a {
        color: #fff;
    }
    div.burger-inner>div {
        background-color: #fff !important;
    }
}
